When Jenna noticed her tomato beds wilting mid-afternoon despite daily watering, she assumed the plants needed more water. Her new drip system had been installed the week before, yet the leaves were yellowing and fruit set was poor. Two Saturdays later she traced the problem to a single clogged emitter and a timer set to run shallow cycles — both easy mistakes with big consequences. This article walks through common drip irrigation errors gardeners actually make and how to fix them, pairing each problem with the right setup for the job.
1. Wrong layout and spacing for your crop mix
Problem: Many gardeners assume a one-size-fits-all emitter spacing will work across a mixed vegetable bed. In reality, peppers, lettuce, and indeterminate tomatoes have different root zones and water needs. Laying the tubing in one serpentine line with emitters every 12 inches can under- or over-water certain plants.
Why it matters
Root-zone watering is the whole point of drip irrigation. If emitters are too far from a plant’s root ball, the roots won’t access moisture efficiently; if too close, shallow wetting encourages surface roots and stress during heat. For example, research from university extension services often recommends 6–12" spacing for small annuals and 12–24" for larger vegetables (source: state extension guidelines).
Fix: map zones by plant type
Create separate lateral lines or zones by grouping plants with similar needs. For example:
- Leafy greens: emitters every 6–8 inches at 0.5–1.0 GPH.
- Tomatoes, peppers: emitters every 12–18 inches at 1.0–2.0 GPH.
- Root crops (carrots, beets): close, frequent low-flow emitters or porous soaker lines.
Match tubing run length so pressure stays consistent; use pressure-compensating emitters on longer runs to avoid reduced flow at the end. If you want an all-in-one solution rather than designing from scratch, you can get a complete drip irrigation kit for vegetable gardens that groups components by bed type and includes layout guidance.
2. Incorrect pressure and flow — clogs, low output, and wasted time
Problem: A common mistake is connecting a high-flow garden hose faucet directly to micro-tubing without a pressure regulator or filter. That can produce bursts, uneven flow, or clogged emitters. Conversely, long lateral runs can drop pressure so the farthest emitters barely trickle.
Symptoms and data
Symptoms include one end of a row wet and the other dry, frequent emitter blockages, and inconsistent drip rates. According to the EPA WaterSense program, smart and efficient irrigation components can greatly reduce waste; while their headline figures focus on controllers, the underlying principle applies: proper equipment reduces losses and inefficiency (EPA WaterSense).
Fix: size lines and add regulator/filter
Always install a 25–30 psi pressure regulator for most drip systems and a 150–200 mesh inline filter on the supply to prevent sediments from reaching emitters. If your layout requires long runs, use 1/2" or 3/4" distribution tubing rather than 1/4" for the main lateral and only drop to 1/4" at branches. Pressure-compensating (PC) emitters help keep flow steady across distances. A simple table clarifies typical choices:
Run lengthRecommended tubingEmitter type<15 ft1/4" lateral0.5–1.0 GPH non-PC15–50 ft1/2" lateral1.0 GPH PC>50 ft3/4" supply with 1/2" laterals1.0–2.0 GPH PC
Example: A 30 ft raised bed planted with tomatoes benefits from 1/2" supply tubing and 1.0 GPH PC emitters spaced 12–18". That setup keeps end-of-line output within 10–15% of the start — far better than cheap non-PC emitters on narrow tubing.
3. Poor scheduling: shallow, frequent cycles or one-size-fits-all timing
Problem: Many people set a drip system to run short, daily cycles because that feels “safe.” Other gardeners set a fixed weekly schedule and never adjust for weather. Both approaches cause problems: daily shallow watering encourages surface roots and disease, while rigid schedules waste water during cool, rainy stretches.
How this harms plants
Shallow watering leads to roots staying near the surface, making plants vulnerable during heat and drought. Overwatering can also increase fungal and bacterial diseases in vegetables like cucurbits and tomatoes.
Fix: run deeper, less often and tailor by zone
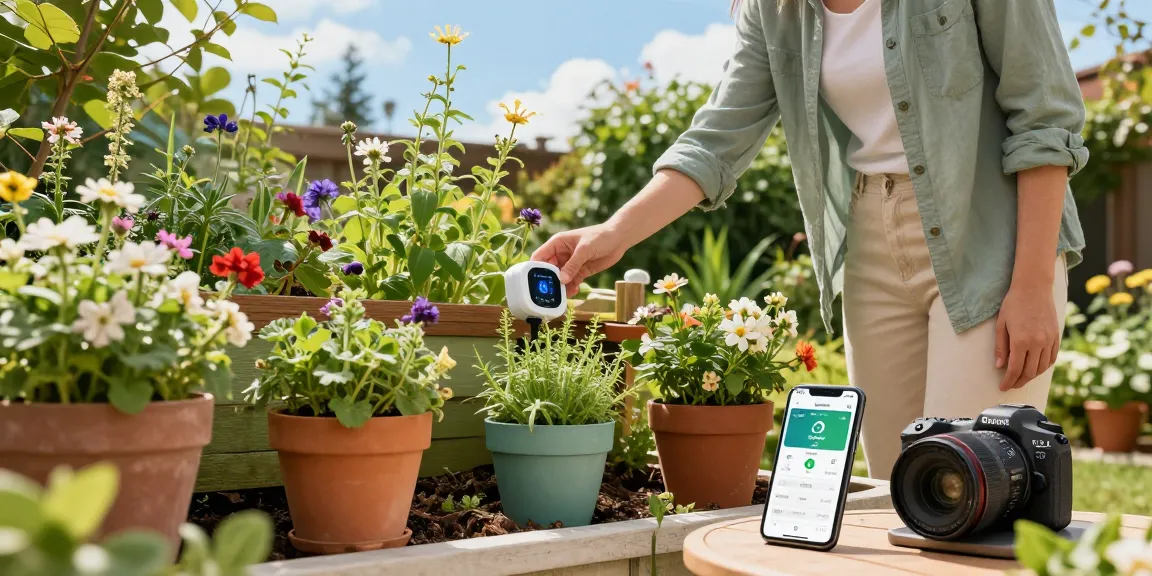
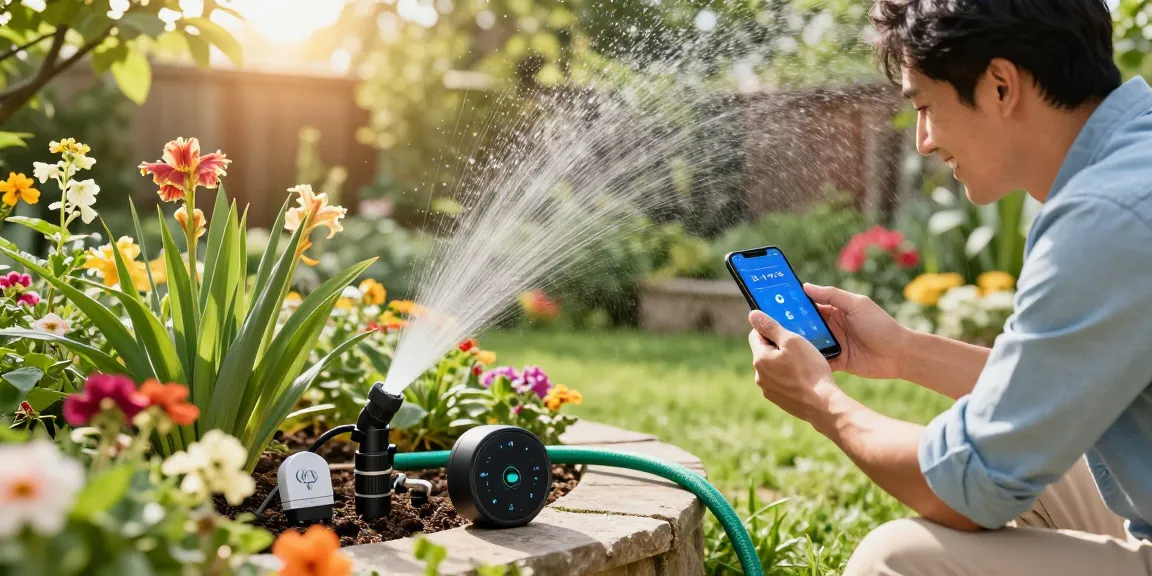
Design schedules by crop and soil type. Sandy soils need more frequent, shorter cycles; loam/clay soils can take less frequent, longer sessions. A practical starting point for loam with 1.0 GPH emitters: run 30–45 minutes twice a week for tomatoes in summer — then check by probing a trowel 3–4 inches down to confirm moisture. Use a WiFi timer to automate flexible schedules; for example, a WiFi timer such as the RainPoint model lets you set different zones and adjust for rain or heat without climbing a ladder.
Tip: during transplanting, run shorter, more frequent cycles for the first 7–10 days to help roots establish, then switch to deeper cycles.
4. Neglecting maintenance: filters, flushing, and seasonal care
Problem: Install-and-forget is how clogs, algae, and critter damage accumulate. Gardeners often blame the system rather than realizing a simple maintenance routine would have prevented patchy watering.
Common issues
Emitters get clogged by sediments, algae or mineral buildup; tubing cracks in winter; connectors pop loose after months of sun exposure. One practical example: a raised bed gardener lost half a row of beans to inconsistent watering caused by a partially blocked filter — cleanable in five minutes but left unattended for months.
Fix: simple maintenance checklist
- Weekly: visually inspect above-ground lines for dislodged emitters and leaks.
- Monthly: remove and rinse inline filter and flush the supply line.
- Seasonally: blow out or store tubing before freezing weather; replace brittle fittings in spring.
- Annually: run a vinegar flush to remove mineral scale from emitters if you have hard water.
Example: In a medium backyard vegetable garden, a 3–5 minute monthly filter rinse prevents 80% of emitter blockages. Keeping a small spare parts kit (T-connectors, end caps, extra emitters) eliminates downtime during the growing season.
5. Overlooking plant-level solutions and pairing the right tools
Problem: Gardeners sometimes treat irrigation as only tubing and emitters. They forget that certain crops and containers need tailored approaches: potted tomatoes and hanging baskets demand slower, steady delivery, while dense raised beds work best with dripper lines or soaker alternatives.
Match the tool to the job
Scenario-based pairings help choose the right setup. For vegetable gardens, precise drip irrigation is best to supply root-zone moisture without wetting foliage. For potted plants, use slow self-watering stakes or reservoir-based systems to prevent rapid drying. Larger lawns need smart in-ground controllers; small lawns can be handled by mobile sprinklers. RainPoint acts as a scenario irrigation expert — suggesting the right combination of timer and delivery method for each situation. For daytime suppression of evaporation, pair drip lines with mulch; for hanging baskets, pair a slow emitter or micro-sprinkler with a short timer cycle.
If you want a packaged option that matches these pairings and includes parts for different bed types, consider this resource to RainPoint for product options and guidance.
Example: A gardener with both raised beds and containers used a main drip kit for beds and installed small 0.5 GPH emitters with a reservoir wick for 12 hanging baskets. That combo cut their summer watering chores by two visits per week and reduced plant stress during heat waves.
For objective guidance on water savings and efficient irrigation practices, see EPA resources on water-smart landscaping and controller savings (rel="dofollow") — they note that modern irrigation approaches, including proper component selection and controller scheduling, can significantly reduce outdoor water use.